
Floor plan editor for precise image changes
Edit a floor plan image with crop, region masks, and numbered instructions. Compare the regenerated result, then save the PNG for human review.
Review visuals for localized editing and saved output
The image set separates region selection, source review, generation, and the saved plan instead of presenting a static review mockup.
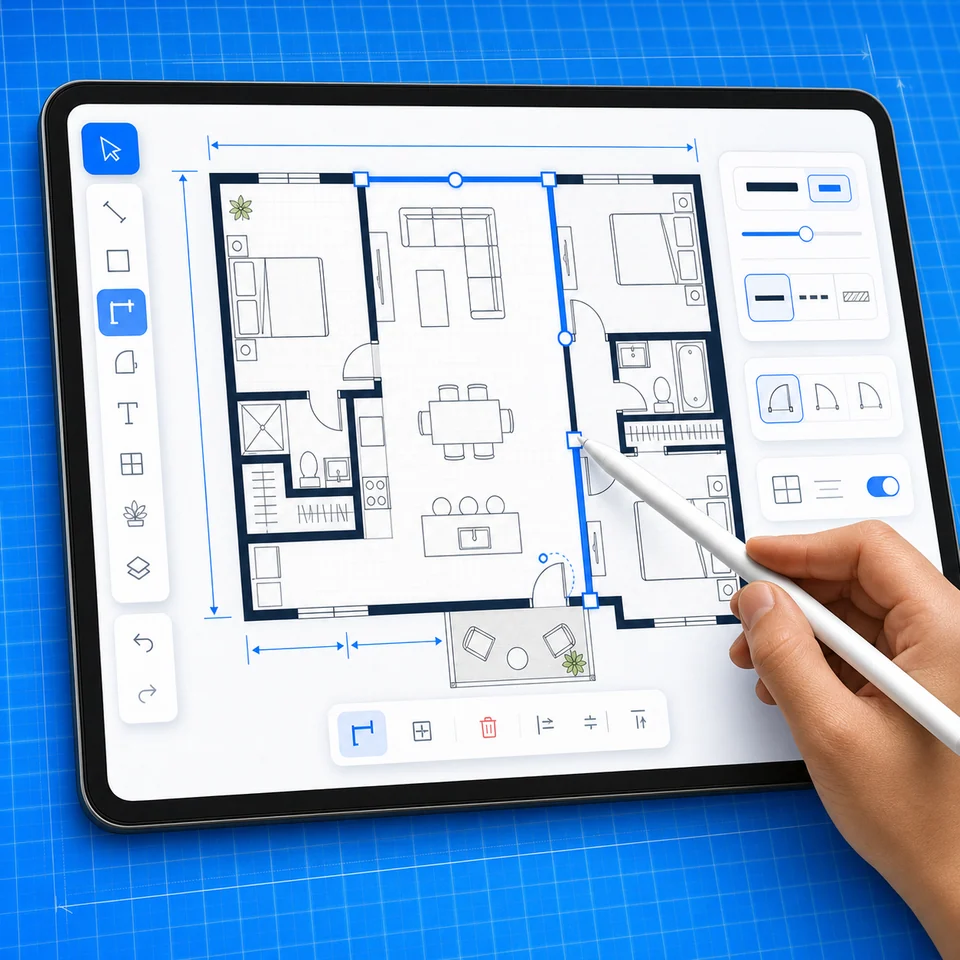
Brush, lasso, box, or click
Mark a region or use up to three numbered location prompts instead of asking the AI to guess what should change.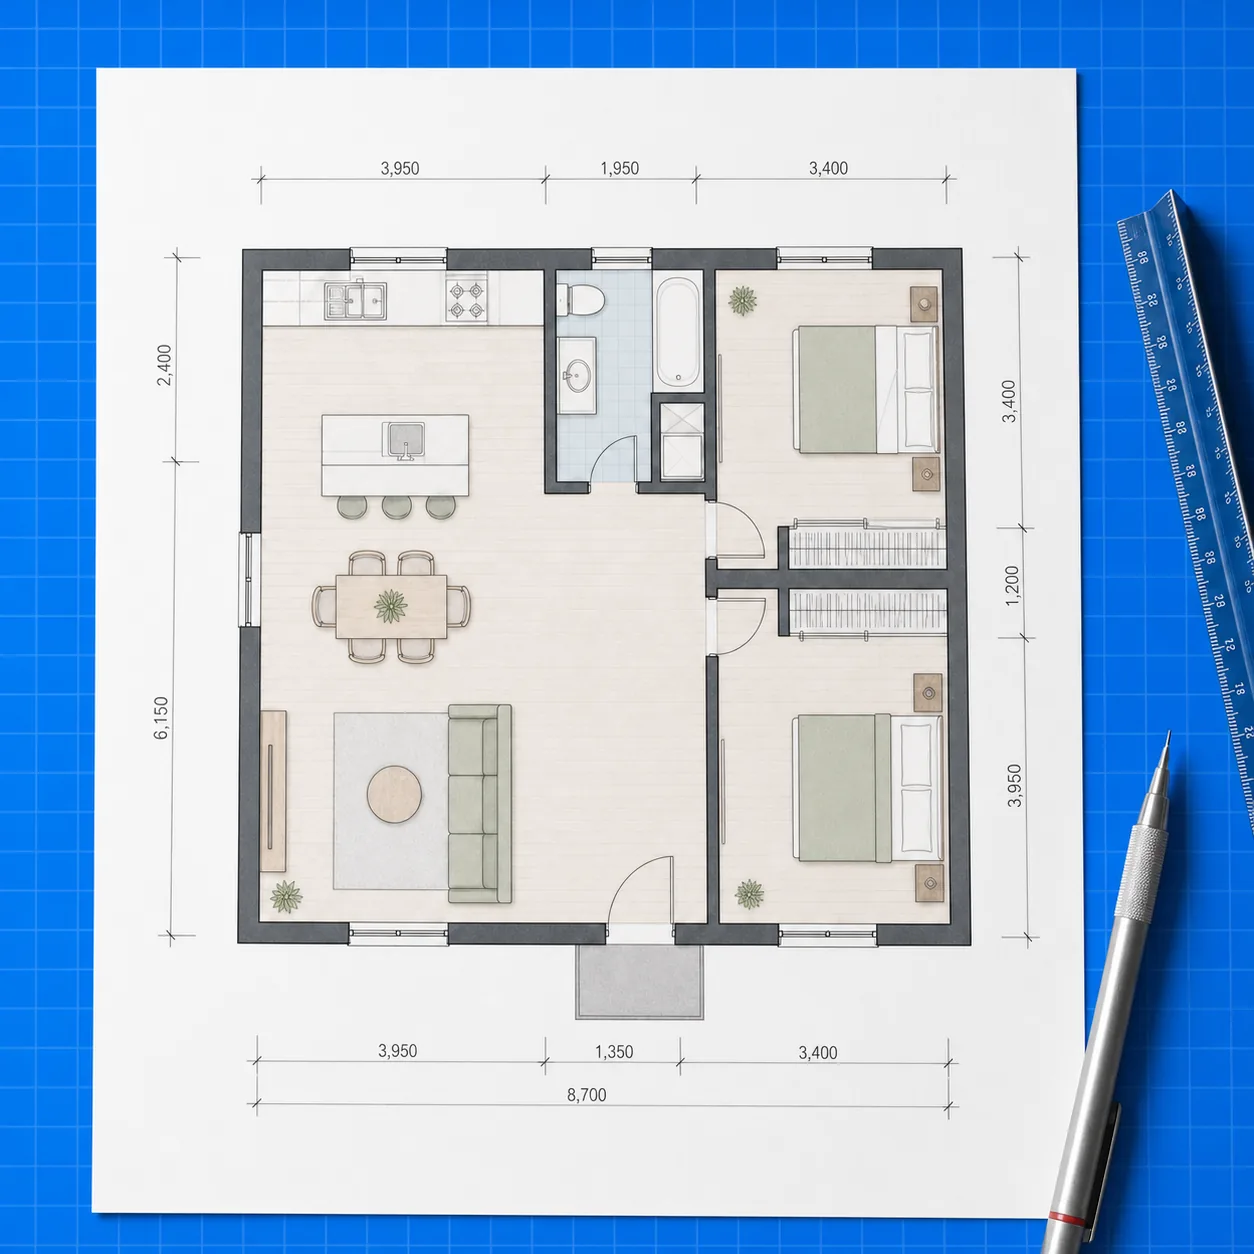
Use separate instructions and references
Add a main instruction, extra requirements, and optional reference images for specific edits.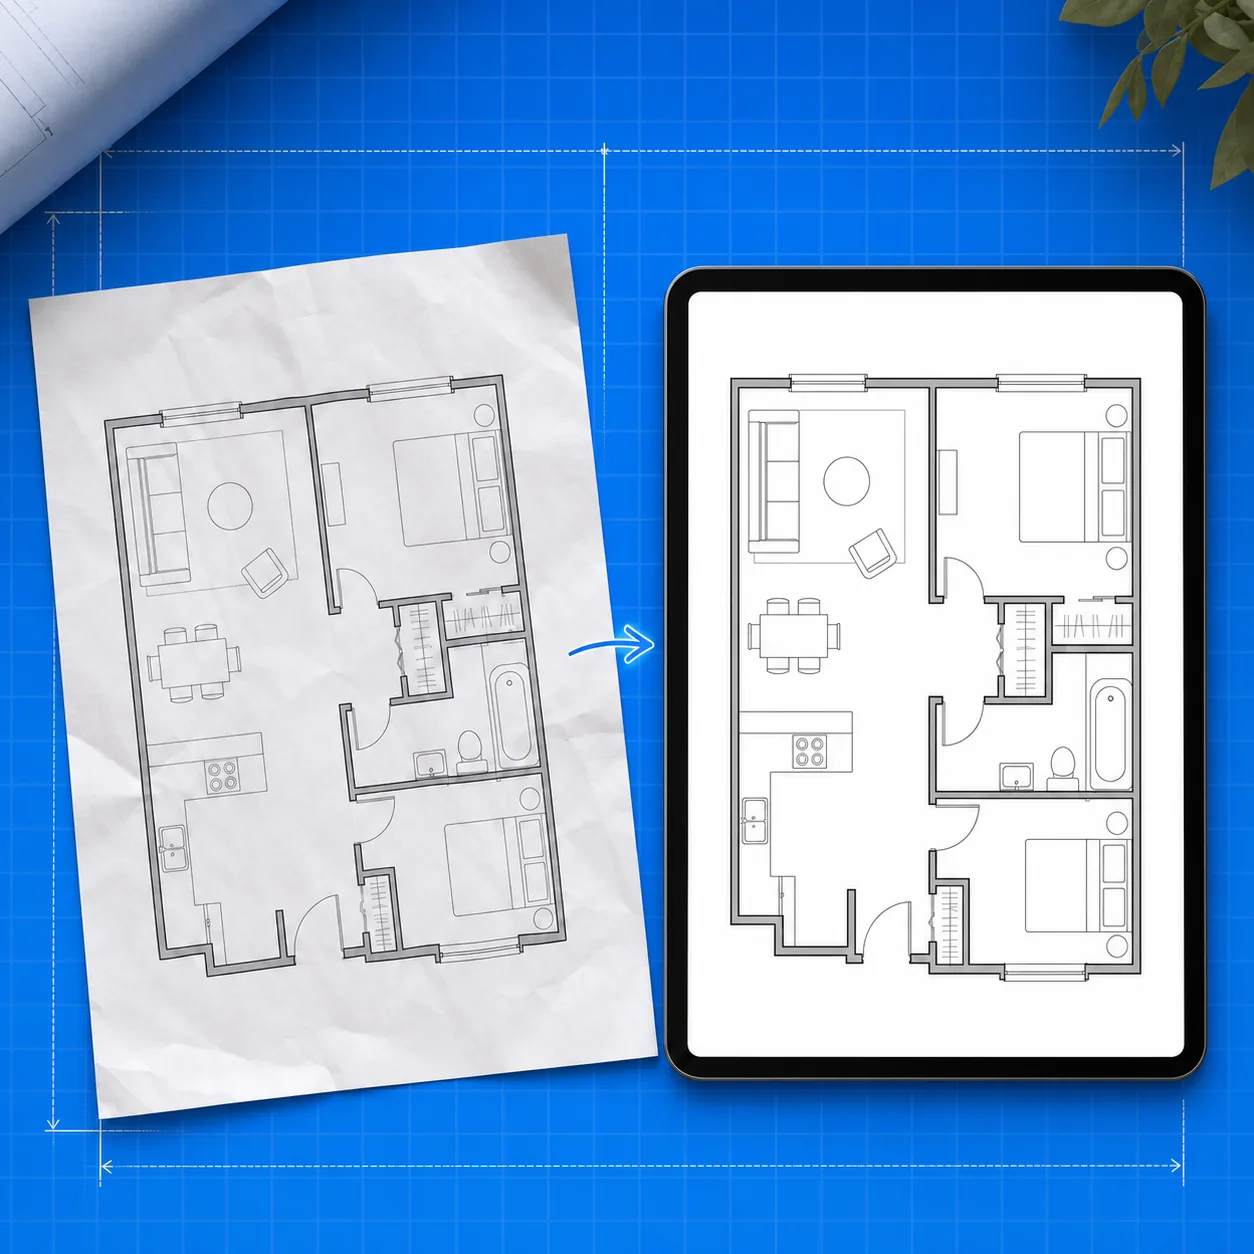
Continue from a saved result
Download a PNG, load the generated result back into the editor, open history, or create an experimental DXF line trace.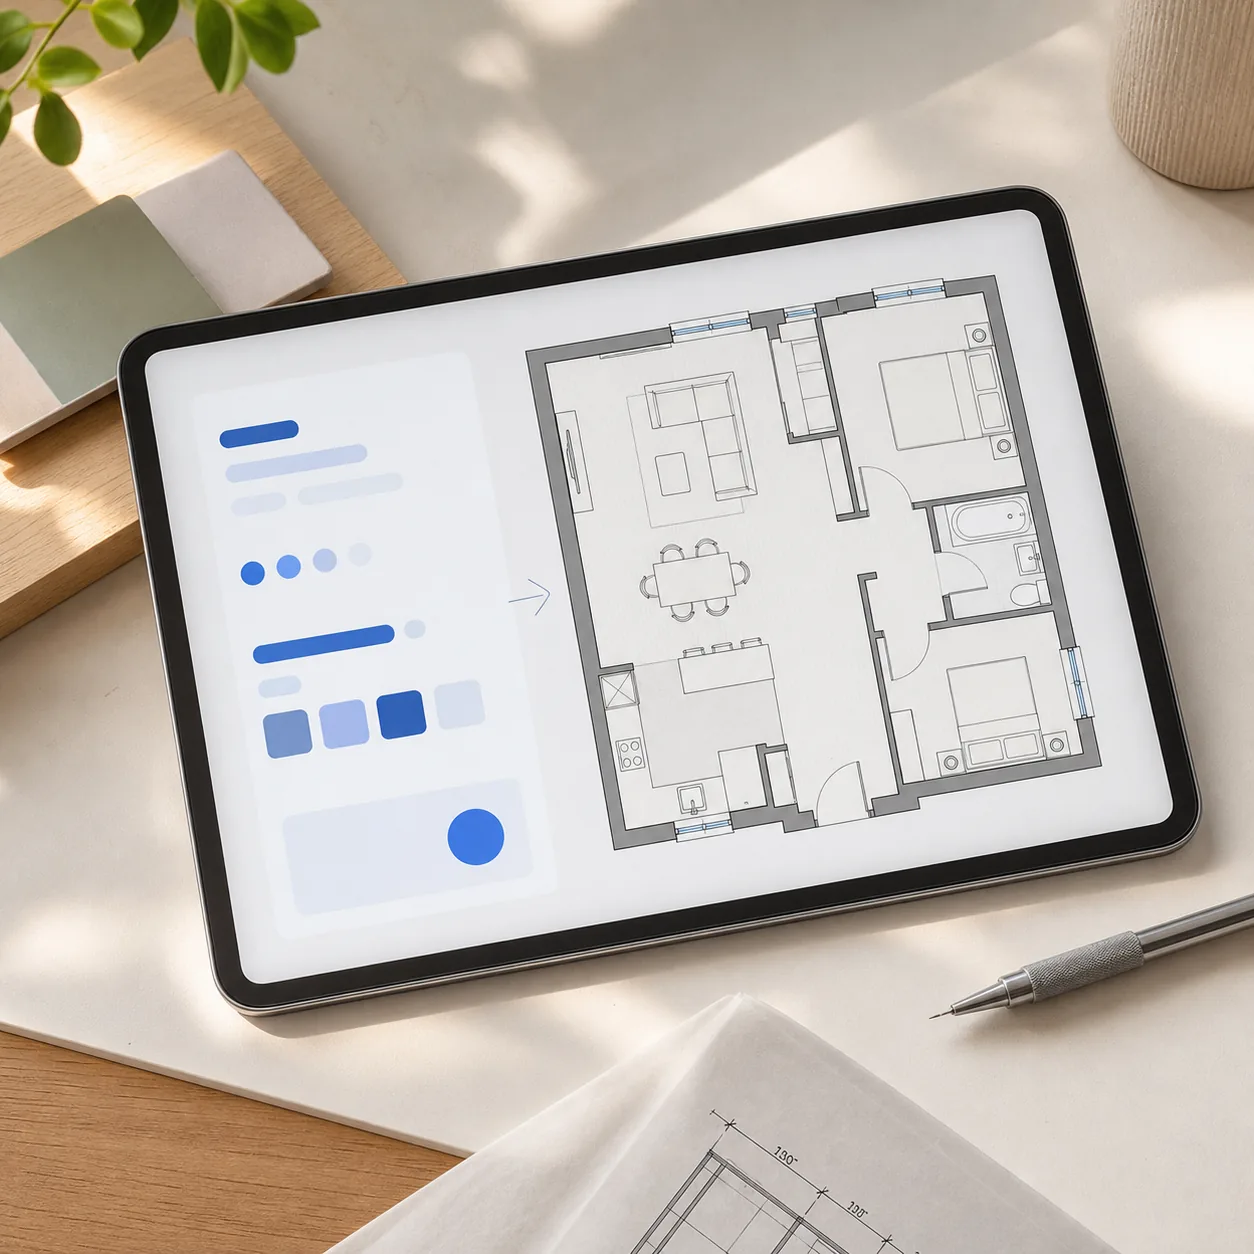
Control after generation
The floor plan review page turns a draft into something a person can inspect and trust more.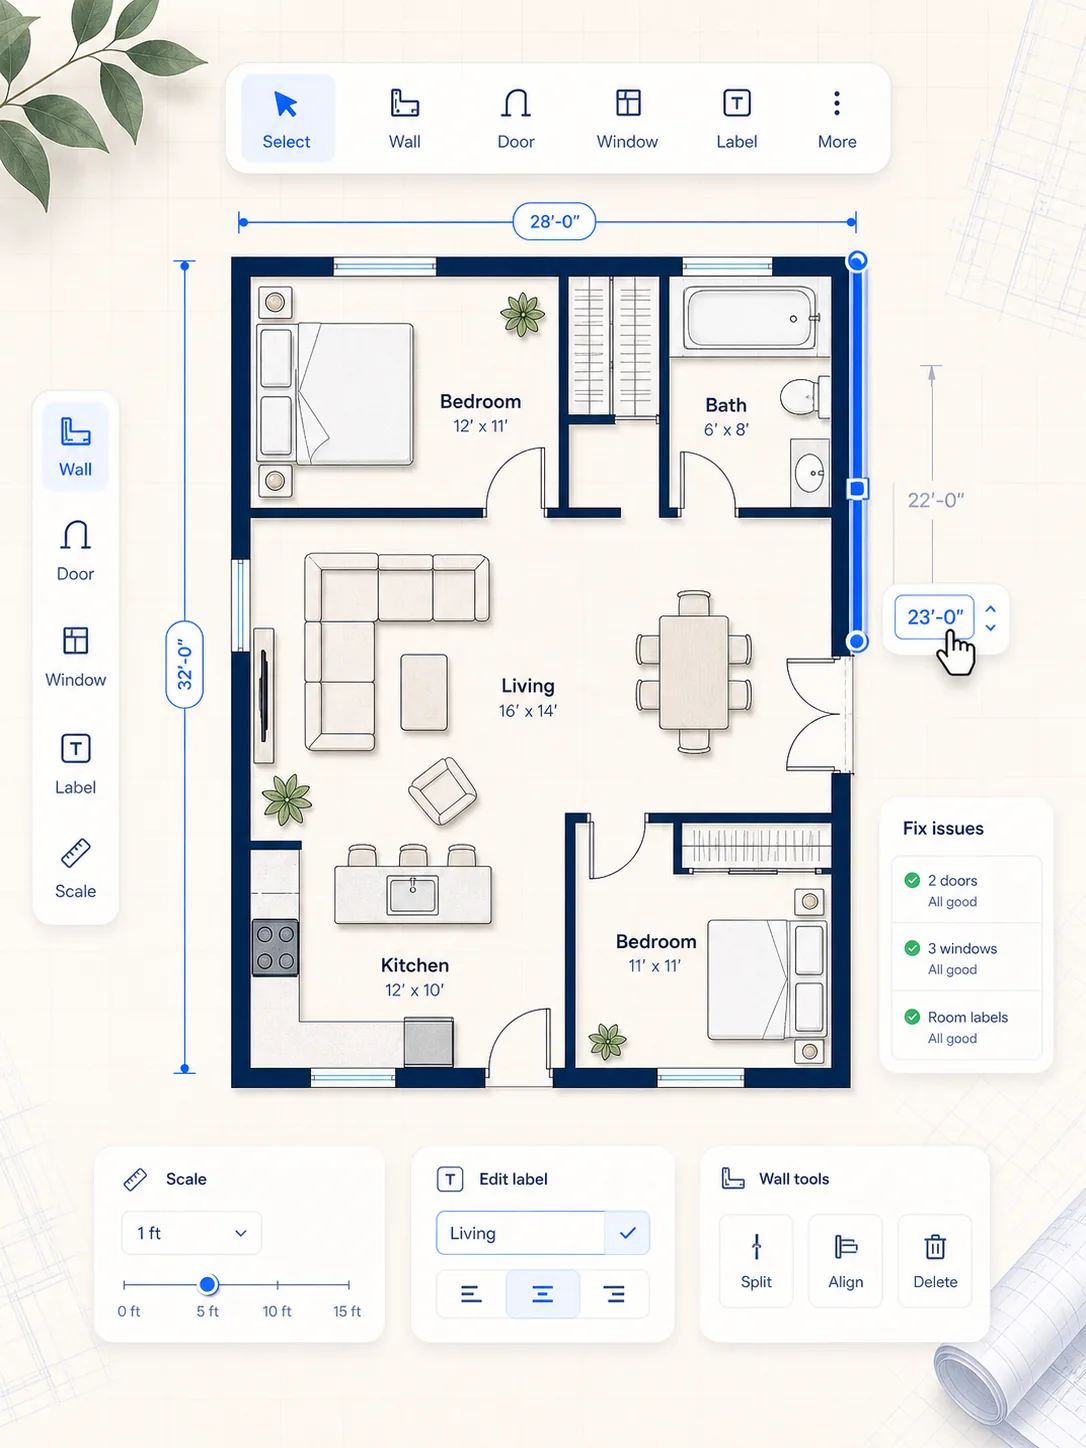
Location-aware editing
Why use a floor plan editor after generation?
The floor plan editor localizes each requested change before another AI pass. It keeps the plan visible, separates region and marker instructions, and makes preservation rules part of the generation request.
Point to the exact region
Paint, lasso, box, or number a location so a room-level correction does not become an accidental whole-plan redesign.
Separate edit requirements
Use a primary prompt, additional inputs, and optional reference images instead of packing every request into one ambiguous sentence.
Continue from the result
Download the PNG, load a saved result back into the crop step, or hand the checked image to the dedicated 3D workflow.
Advantages vs. alternatives
Floor plan editor vs. generation and CAD tools
Use the editor for localized changes to a plan image; use blank-slate generation for a new layout and measured CAD for direct geometric control.
Starting point
An existing plan image or saved AI result
Text generation starts from a room brief
Location control
Painted mask or up to three numbered markers
CAD uses direct vector wall and object handles
Saved output
A regenerated PNG plus an optional raster line trace
Measured CAD remains necessary for verified geometry
Proof and data
Editor controls visible before any credit is used
The browser exposes the location, instruction, preservation, and output choices before sign-in or generation.
4
selection tools
Brush, lasso, rectangle, eraser
3
numbered markers
Separate location prompts
11
visual styles
Unique preview for every style
How it works
Edit one plan without losing the rest
Upload and crop the source, mark the exact location, describe the change, then compare and save the regenerated PNG.
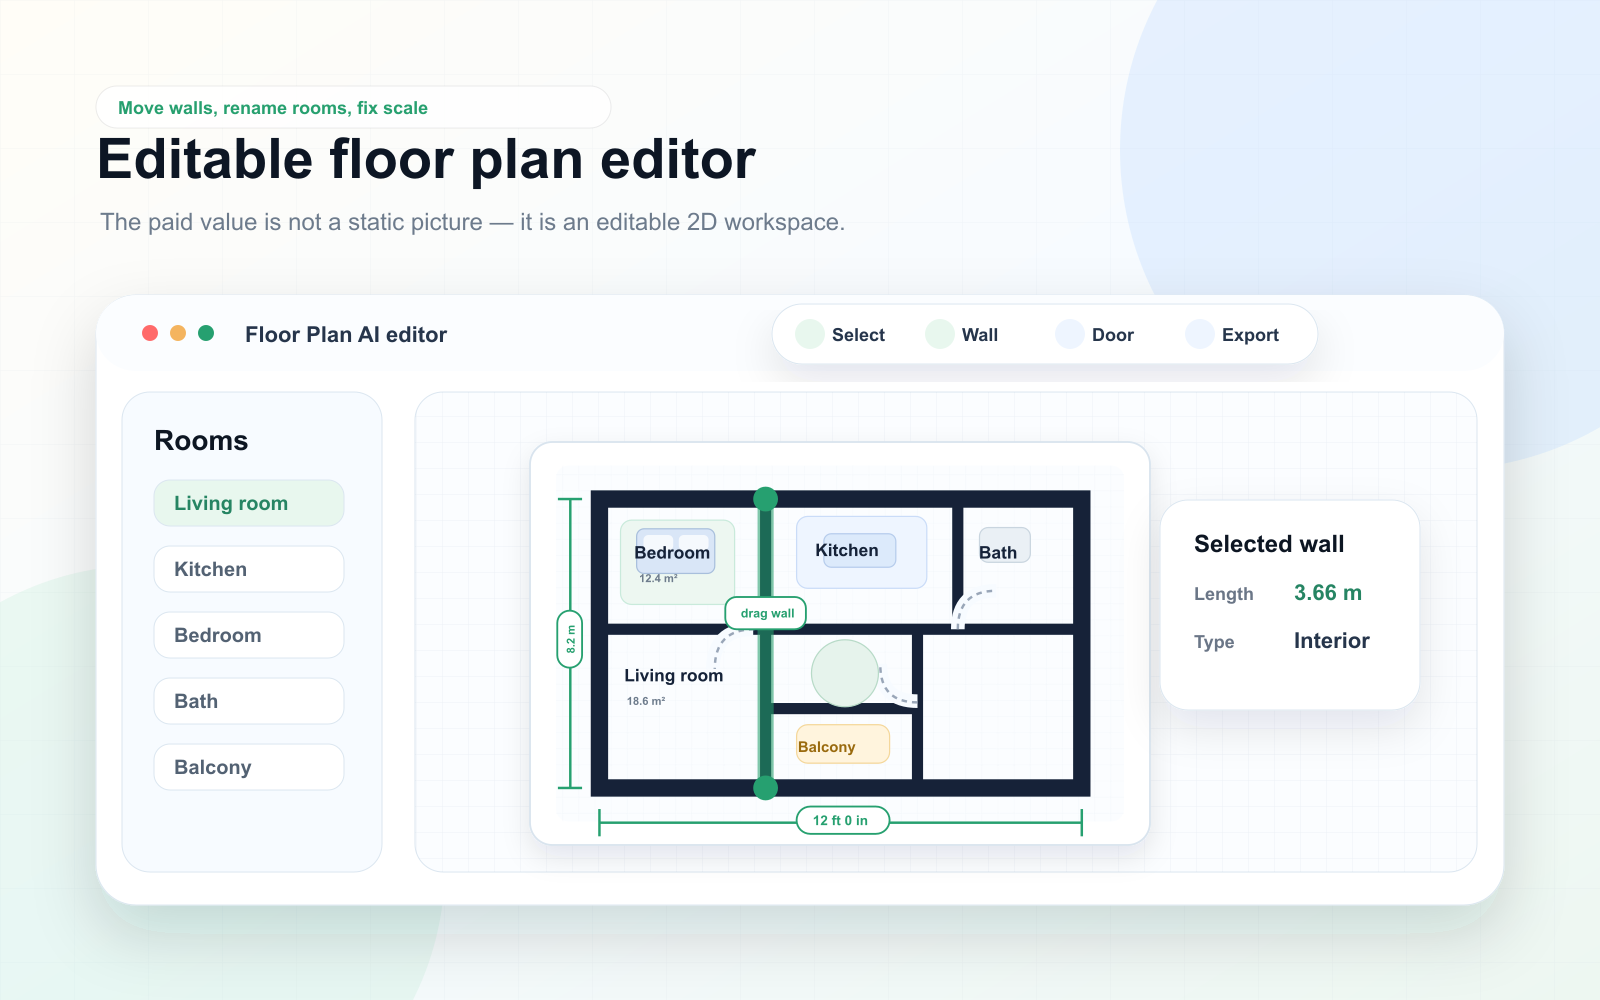
Open the draft
Start with an AI result, a reference image, or an existing plan image.
Check known sizes and room names
Use a known measurement and clean labels as review context so the plan reads correctly.
Inspect openings and walls
Check door swings, window positions, wall breaks, and room boundaries before relying on the image.
Download the checked plan
Share only after the visible mistakes are corrected.
Support notes
Questions about floor plan editor
Answers about selection tools, markers, styles, saved history, and the DXF trace boundary.
AI plans should be reviewed before construction decisions.
AI generation uses account credits. Downloading a saved PNG does not run a new generation.
01How do I select one area in the floor plan editor?
02Can I request different changes at several locations?
03Which floor plan styles can the editor apply?
04Does editing overwrite my original floor plan image?
05Is the DXF download ready for construction CAD?
Ready when the source is ready
Open the floor plan editor workspace
Start with a prompt or reference image, review the draft, then export only after the plan is readable.